| This is one I get asked about all the time, how do I process my voice recordings for clearer more professional podcasts and voiceovers? Well, the truth is as long as you have a microphone and a voice people can understand, any DAW should be all you need to get things to a pretty high standard. I’ve recorded a really simple vocal line and included a few ‘problems’ to be solved and in the following tutorial we’ll use Logic’s bundled processors to create a custom chain. Of course you could use pretty much any DAW for this, as most of them include similar plug-ins. Step 1: The Original RecordingSo… I’ve recorded my vocal. It’s nothing flashy just a few sentences spoken into a Rode Procaster dynamic microphone. This is going straight into a TC electronic firewire interface and isn’t treated in any way. Although the mic has a built in pop shield I haven’t used any extra shield here.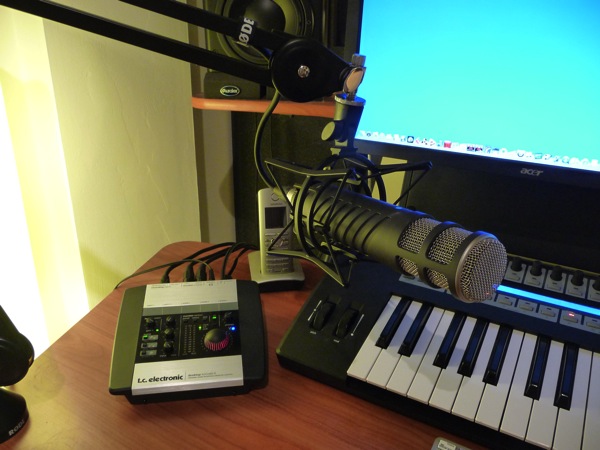 The recording set up. 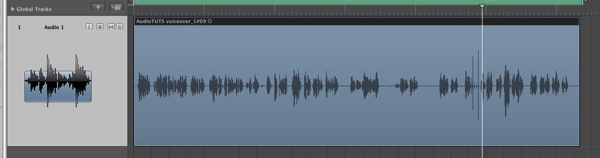 The initial recording in Logic. The untreated recording. Step 2: Adding a Gate and Removing NoiseThe first thing I tend to attack is the noise in between phrases. You would be amazed at how much this can improve a vocal take and with just a few minutes work you can literally transform your recording.The best approach is to use a noise gate but before you fire one up it’s worth going the file and manually removing any really obvious problem areas. In this case I deliberately included some loud lip smacking sounds towards the end of the passage. These were removed by simply cutting them out of the audio region. Gates are capable of handling most low level noise (i.e. unwanted noise at a lower level than your main audio) but you’ll find that any louder noise may have to be removed in this more deliberate way. 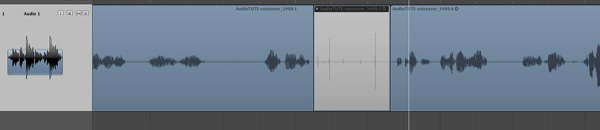 Manually removing unwanted problem areas. The combination of the manual noise removal and gating makes for a really quiet and clean vocal take. Obviously we didn’t remove everything, the air conditioner beep is still in there as it happens at more or less the same time as the voice… but all in al an improvement. 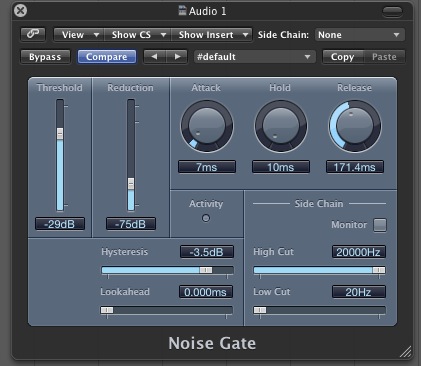 Logic’s stock noise gate. Download audio file (2.mp3) The audio with some gating and manual noise removal. Step 3: Cutting the Lows, Boosting the HighsThe gating has really helped but the whole thing is still a little ‘heavy’ in nature and a simple high pass (low cut) filter can solve this. Cutting at around 80-130 Hz can clean things up no end. I’ve used a nice clean linear phase EQ for this.Due to the fact I used a dynamic microphone the recording was in need of a little ‘air’, so using the same EQ I used a high shelf filter to boost the highs. 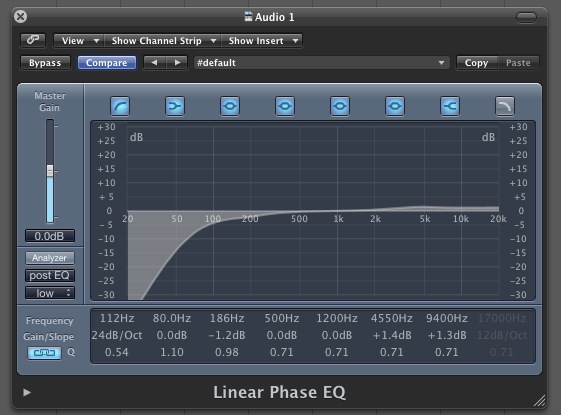 Logic linear phase EQ doing its thing The equlaised vocal. Step 4: Some Light Compression and De-essingWhen recording vocals compression is often a life saver and is pretty much essential when recording singers. During a podcast or voiceover session you might things are quite tame in comparison and compression may not be as important.Saying this, a small amount of compression can really bring things together and ensure a totally uniform take. Go easy here though and don’t apply compression you don’t need. I’ve used around 3-4 dB of gain reduction, combined with slow attack and release times. In this case the single band compression introduced some pretty heavy mid-range sibilance. To solve the problem I used Logic’s multi-band processor to reduce the problem frequencies and round things off. 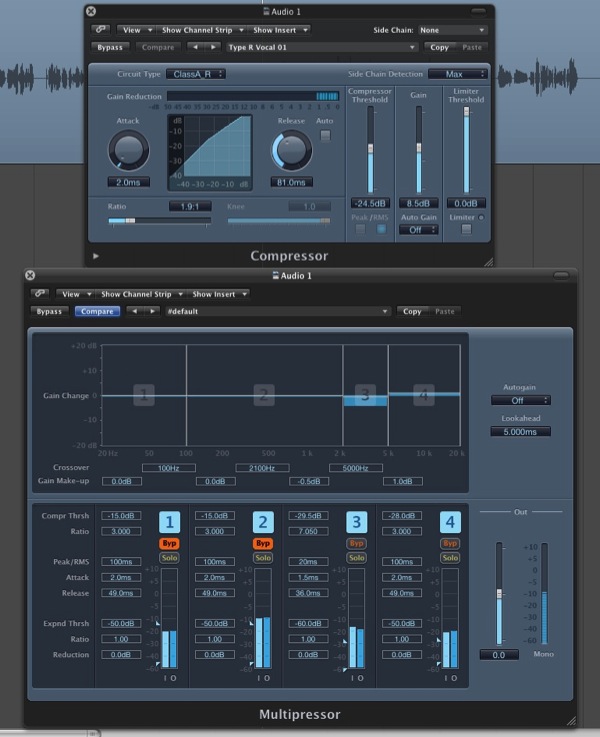 Single and multi-band compression in tandem Compressed and de-essed! Step 5: Final TouchesThe only thing left for me to do was to add a little limiting, purely to ensure that there was no clipping or overs. This also adds some extra perceived volume, to really grab your listeners ears! I also tweaked the EQ to remove even more low end (unto about 135 Hz) and fine tuned the gate controls.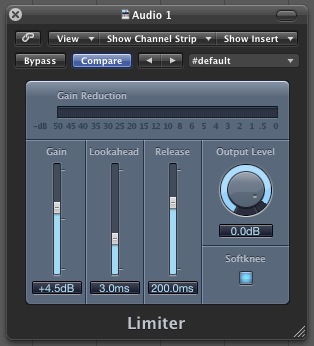 Logic’s limiter controlling the final output Download audio file (5.mp3) The final processed vocal.
|
Join The Community